 |
 |
|
|||||||
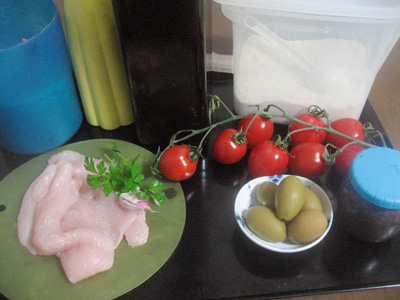
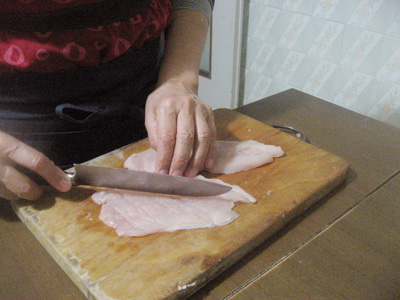
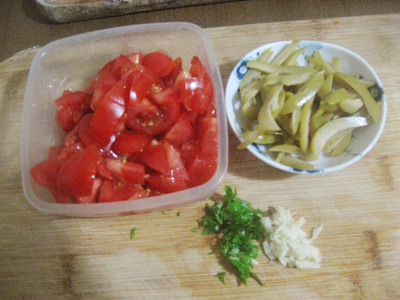
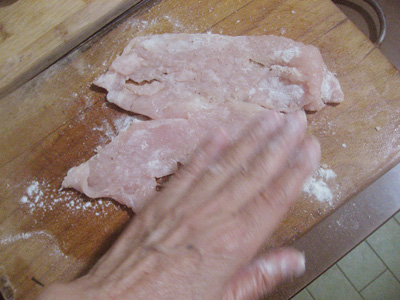
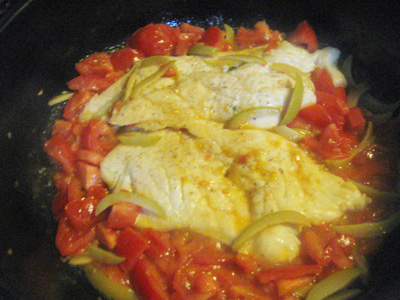
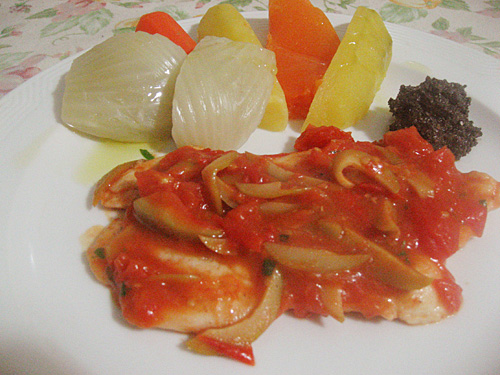
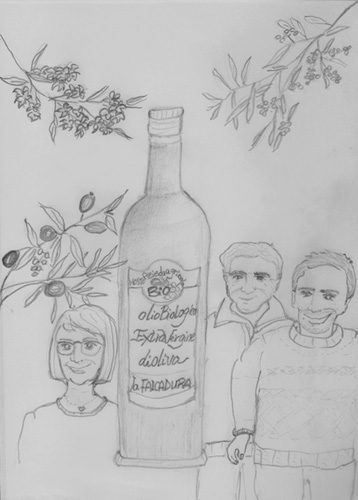 前回のオリーブの収穫に続き、 最終段階のご紹介をしましょう。 収穫した実は搾油所で搾油します。 彼らは今年の収穫の終了日を 12月10日と決めました。 その後の実は酸度が高くなるので収穫しません。 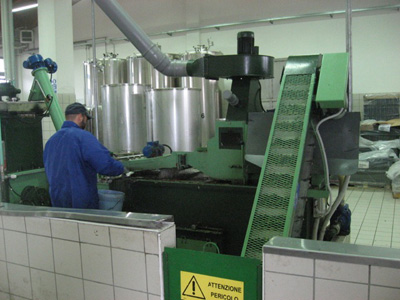 ▲搾油所はBIOオリーブのみの日でした。 オリーブは洗われて搾油されます。 彼らのオリーブオイルは、 フラントイオ、レッチーノ、ペンドリー二 という3種類オリーブの木からとれる実の混合です。 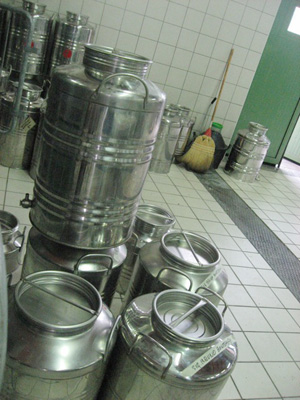 ▲搾油されたオリーブオイルは ここで濾過してもらうか自宅で濾過します。  ▲オイル作りやクリスマスお菓子作りなどで 忙しい12月11日にご自宅にうかがって、 濾過のようすを見学させてもらいました。  ▲なぜ自宅で濾過をするか? 機械でやるよりも人の手で濾過したほうが、 圧縮しすぎず、やさしく濾過できるから、とのこと。 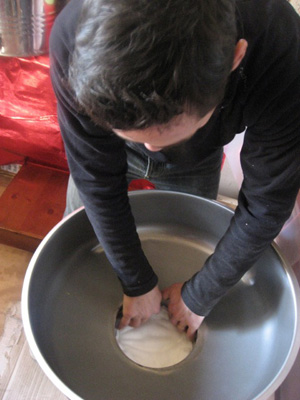 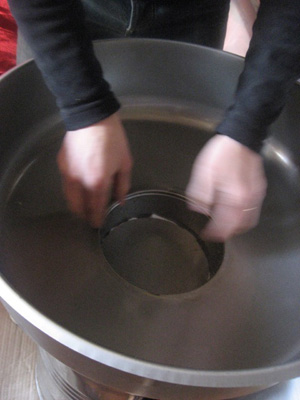 ▲濾過器に食品濾過用の自然素材のコットンと ステンレス製の網を2層敷きます。  ▲搾油されてから10日前後かけて自然沈殿させます。 1.5〜2.0%分の沈殿物が貯まります。 濾過される前は「モスト」と呼ばれ、 綺麗な不透明なオリーブ色をしています。 今年は100kgの実から14kgのモストができました。 ▲濾過器にモストを流します。 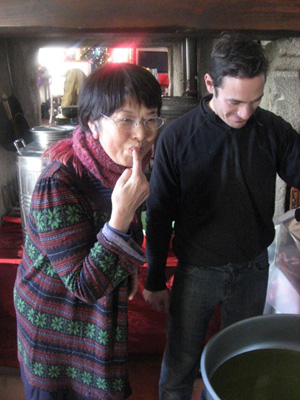 ▲早速、モストを味見。 色、香り、味も新鮮。 オリーブの実のままの味です。 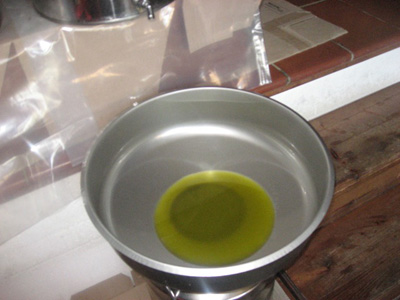 ▲モストの濾過は1回分で30分〜1時間かかります。 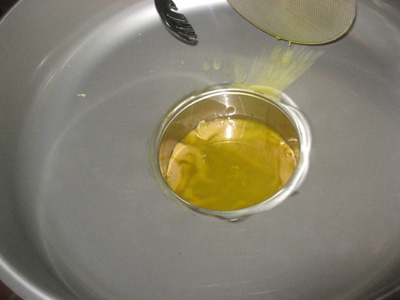 ▲1回分が終わったところです。 少量の沈殿物が貯まっています。 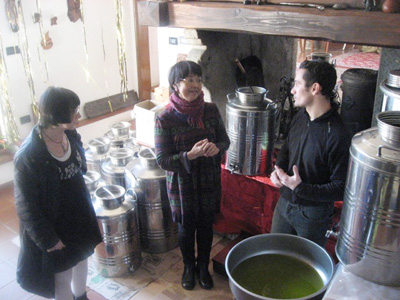 ▲コットンフィルターは、 1回ごとに様子を見ながら替えるそうです。 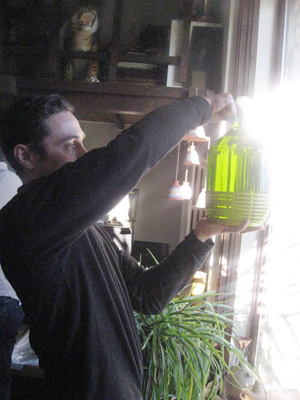 ▲濾過されて透明になった エキストラバージンオイル。 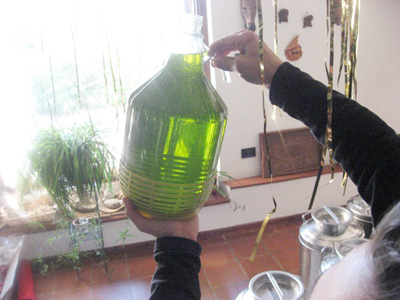 ▲我が子を抱くルーカです。 去年の酸度は驚異的な0.05でしたが 今年の酸度は0.1です。 それにしても、とても酸度の低い エキストラバージンオリーブオイルのできあがりです。 土、木、実、そしてオイルに仕上げるまで慈しみ、 最後の過程まで見守りながら、 純粋で、繊細で、研ぎ澄まされた 軽い上質のオリーブオイルをつくります。 しかしながら こんな素晴らしいオイルにも欠点があります。 それは少量しかできないので ひとにぎりの人にしか、味わってもらえないということです。 質の良さを保ちながら生産量を増していきたい。 それが、これからのルーカの課題です。 努力を惜しまない つくり手の人間性まで感じるオリーブオイル。 その良さを感じられる自分でいたいです。 このオイルを愛でながら だいじにいただきたいと思います。 さて、今回のメニューは時間のないときにさっとでき、 軽くて味わいのある「鶏胸肉のスカロッピーネ」です。 前回ご紹介したオリーブのペーストなどを添えて、 味を楽しんでくださいね。
|
|||||||
|
|
|||||||